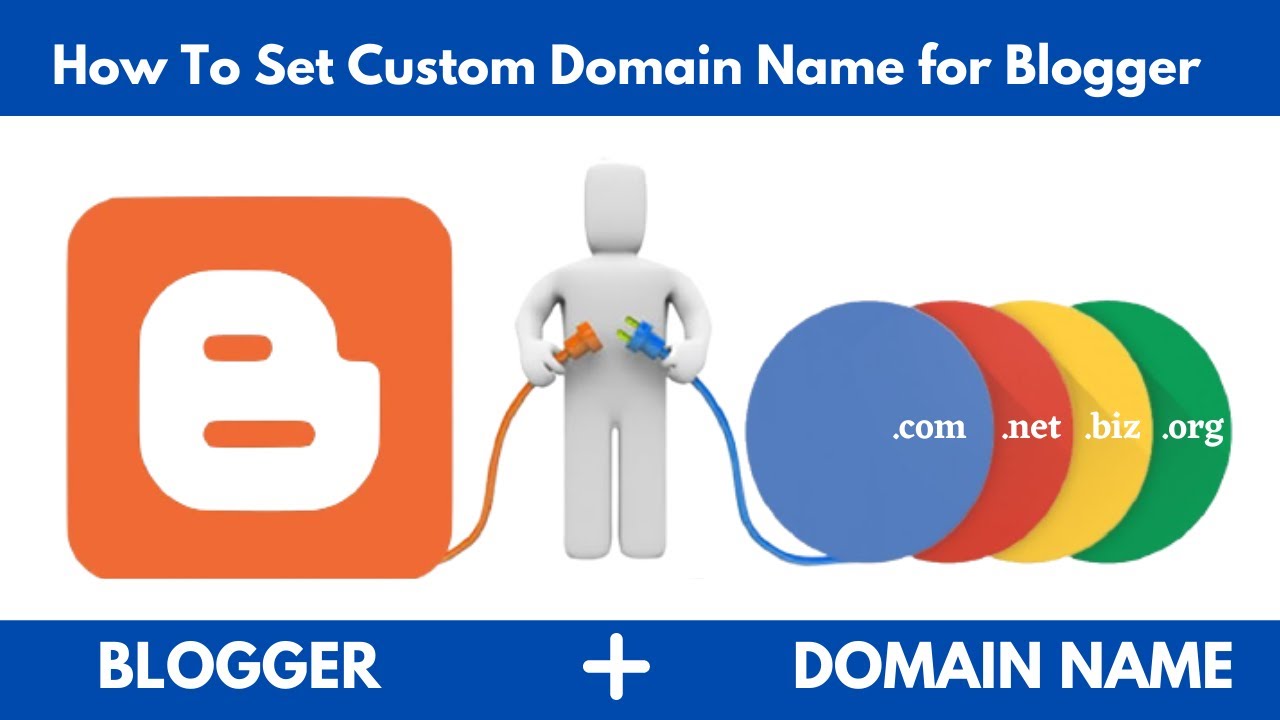
Adding a custom domain (like yourblog.com) to your Blogger site makes it look more professional and improves branding. Follow this step-by-step guide to connect your domain seamlessly.
📌 Requirements Before Starting
✅ A Blogger/Blogspot account with an existing blog
✅ A custom domain (purchased from Google Domains, Namecheap, GoDaddy, etc.)
✅ Access to your domain registrar’s DNS settings
🔧 Step 1: Buy a Domain (If You Haven’t Already)
Popular domain registrars:
- Google Domains (now Squarespace Domains)
- Namecheap (affordable)
- GoDaddy (common but pricier)
- Cloudflare Registrar (cheapest, but requires Cloudflare setup)
💡 Pro Tip: Choose a short, memorable .com domain (e.g., yourblog.com).
🔧 Step 2: Configure Domain in Blogger
- Go to Blogger Dashboard.
- Select your blog → Settings → Basic.
- Under Publishing, click + Set up a third-party URL.
- Enter your domain (e.g., www.yourblog.com) and check:
- ☑ Redirect yourblog.com to www.yourblog.com (for SEO consistency).
- Click Save.
📌 Blogger will show 2 CNAME records—keep this tab open.
🔧 Step 3: Update DNS Records in Your Domain Registrar
For Google Domains / Squarespace Domains:
- Go to DNS Settings.
- Add A Records (4 IPs):
   @ → 216.239.32.21
   @ → 216.239.34.21
   @ → 216.239.36.21
@ → 216.239.38.21 - Add CNAME Records:
   www → ghs.google.com
   (Another CNAME with Blogger’s unique code)
For Namecheap:
- Go to Advanced DNS.
- Add the same A & CNAME records as above.
For GoDaddy:
- Go to DNS Management.
- Add the A & CNAME records as listed.
✅ Save changes and wait (DNS propagation takes 5 mins to 48 hours).
🔧 Step 4: Verify & Enable HTTPS
- Go back to Blogger Settings → Click Save again.
- If successful, you’ll see a confirmation.
- Enable HTTPS (for security & SEO):
- Go to Settings → Basic → HTTPS Availability → Yes.
- Wait up to 24 hours for SSL activation.
🔧 Step 5: Test Your Setup
✔ Open an incognito window and visit:
http://yourblog.com(should redirect tohttps://www.yourblog.com)http://www.yourblog.com(should load securely)
✔ Check Google Search Console to ensure indexing.
🚨 Common Issues & Fixes
❌ “Another blog is using this domain” → Remove domain from any other Blogger account.
❌ SSL not working → Wait 24 hours or clear browser cache.
❌ Site not loading → Verify DNS records with DNS Checker.
🎉 Done! Your Blogger Blog Now Has a Custom Domain
Now your site looks professional and branded without needing paid hosting!
💬 Need help? Drop a comment below! 🚀
Leave a Reply