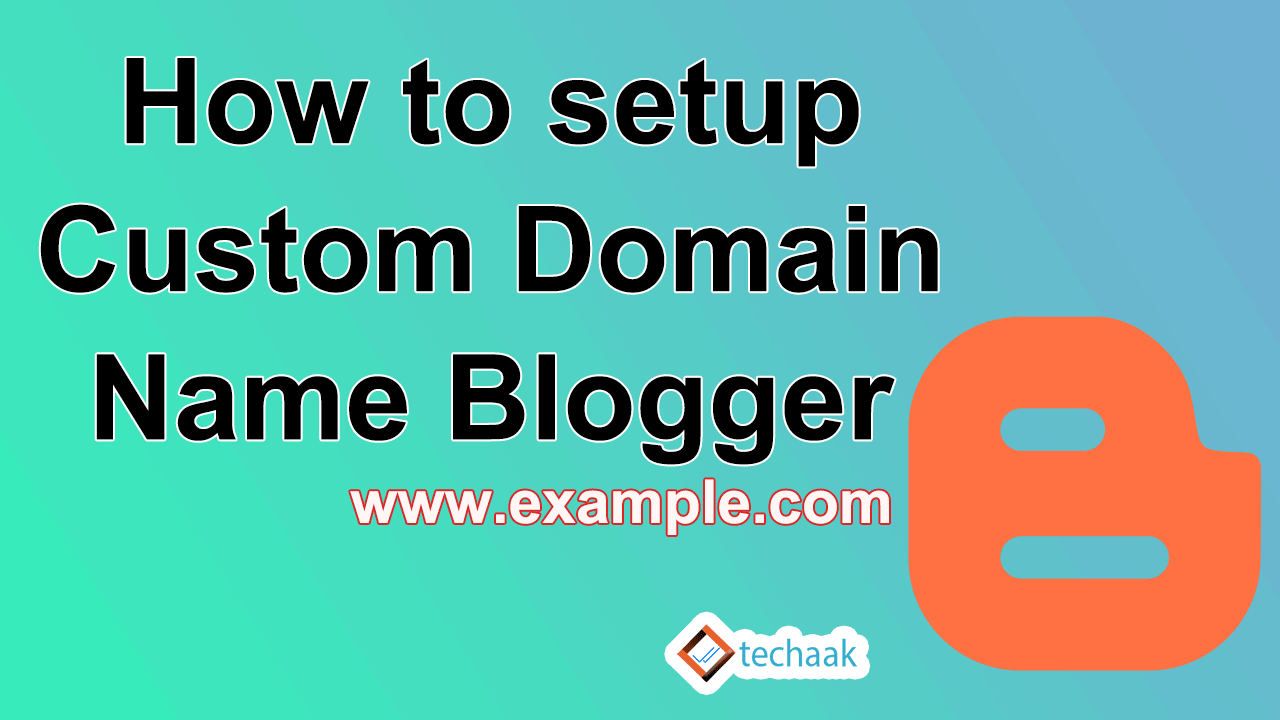
How I Added a Custom Domain to My Blogger (Blogspot) Blog – A Step-by-Step Guide
When I first started my blog on Blogger (Blogspot), I used the default .blogspot.com address. But as my audience grew, I wanted a more professional look with a custom domain (like www.myblog.com).
After some research and trial-and-error, I successfully connected my own domain to Blogger. Here’s my complete step-by-step experience, including mistakes I made and how I fixed them.
Why I Switched to a Custom Domain
Before diving into the process, here’s why I decided to make the switch:
✅ Professionalism – A custom domain (e.g., myblog.com) looks more credible than myblog.blogspot.com.
✅ Branding – It strengthens my blog’s identity.
✅ SEO Benefits – Google ranks custom domains slightly better than subdomains.
✅ Future-Proofing – If I ever move away from Blogger, I can keep my domain.
Step 1: Buying a Domain Name
I chose Namecheap (but you can use Google Domains, GoDaddy, or Cloudflare).
What to Look for in a Domain:
✔ Short & Memorable – Easy to type and recall.
✔ .com Preferred – But .net or .org works too.
✔ Avoid Numbers & Hyphens – Hard to remember and spell.
I bought myblog.com for $8.99/year (Namecheap often has discounts).
Step 2: Setting Up the Domain in Blogger
- Logged into Blogger → Selected my blog.
- Went to Settings → Basic.
- Under “Publishing”, clicked “Custom Domain”.
- Entered www.myblog.com and clicked Save.
🔴 First Mistake: I forgot to check “Redirect myblog.com to www.myblog.com” (important for SEO).
Step 3: Configuring DNS Records
This was the trickiest part because I had never touched DNS settings before.
What Blogger Asked For:
- Two CNAME Records (for verification & redirection).
- Four A Records (IP addresses for Blogger’s servers).
How I Added Them in Namecheap:
- Logged into Namecheap Dashboard → Domain List → Manage.
- Went to Advanced DNS → Host Records.
A Records (Required for Root Domain)
| Type | Host | Value | TTL |
|---|---|---|---|
| A | @ | 216.239.32.21 | Automatic |
| A | @ | 216.239.34.21 | Automatic |
| A | @ | 216.239.36.21 | Automatic |
| A | @ | 216.239.38.21 | Automatic |
CNAME Records (For WWW & Verification)
| Type | Host | Value | TTL |
|---|---|---|---|
| CNAME | www | ghs.google.com | Automatic |
| CNAME | (Unique code) | (Blogger-provided URL) | Automatic |
✅ Saved changes and waited (DNS updates take 5 mins to 48 hours).
Step 4: Verifying the Setup in Blogger
After about 30 minutes, I went back to Blogger and clicked Save again.
🟢 Success! My domain was now connected.
🔴 Second Mistake: I didn’t enable HTTPS at first, so my site showed “Not Secure.”
How I Fixed It:
- Went to Settings → Basic → HTTPS Availability.
- Switched to Yes.
- Waited ~1 hour for SSL to activate.
Now, my blog loaded as https://www.myblog.com securely.
Step 5: Testing & Final Checks
- Opened Incognito Mode → Visited myblog.com → Redirected to www.myblog.com.
- Checked Google Search Console to ensure indexing.
- Tested all internal links to confirm they worked.
Common Issues I Faced (And Fixes)
🚫 Problem: “Another blog is already using this domain.”
✅ Fix: I had accidentally added the domain to another Blogger account. Removed it first.
🚫 Problem: SSL not working after setup.
✅ Fix: Waited 24 hours—sometimes SSL takes time to provision.
🚫 Problem: Site not loading after DNS changes.
✅ Fix: Cleared browser cache & used DNS Checker to verify propagation.
Final Thoughts: Was It Worth It?
Absolutely! My blog now looks more professional, and I’ve seen a slight boost in traffic since switching.
Key Takeaways:
✔ Buy a short, memorable domain (preferably .com).
✔ Always redirect naked domain (myblog.com → www.myblog.com).
✔ Enable HTTPS immediately for security & SEO.
✔ Be patient—DNS changes take time.
Now, my Blogger blog runs on my own custom domain without paying for hosting! 🎉
Need Help? Ask in the Comments!
If you’re stuck at any step, drop a comment—I’ll help troubleshoot based on my experience. 🚀
Leave a Reply