

Creative YouTube Video Ideas to Inspire You in 2025
Here are fresh, creative YouTube video ideas for 2025—designed to stand out, spark trends, and captivate audiences across niches: 🚀 Futuristic & Tech-Inspired 🎭 Immersive Storytelling & Experiments 🌍 Global...
Continue reading

How to Create a Website For Free in 5 Simple Steps
How to Create a Website For Free in 5 Simple Steps Creating a free website is quick and easy with the right tools. Follow these steps to get your site...
Continue reading

Most Powerful AI Models in 2025: The Cutting Edge of Artificial Intelligence
As we progress through 2025, artificial intelligence continues its exponential growth, with new models pushing the boundaries of what machines can achieve. This guide explores the most powerful AI models...
Continue reading

Where to Download the Best Free Video Editing Software in 2025
If you’re looking for high-quality, free video editing software in 2025, here’s a list of the top options with official download links to avoid scams or malware. 🥇 1. DaVinci...
Continue reading

Benefits Of EDU Mail | How To Get It ? – Explained
The Ultimate Guide to .EDU Emails: Benefits & How to Get One (2025) Table of Contents 1. What is a .EDU Email? A .edu email is an official email address...
Continue reading

How to Create an EDU Email in 2025 (FREE) | Get a Temporary Email
How to Get a FREE .EDU Email in 2025 (Temporary & Permanent Methods) A .edu email address gives you access to student discounts (GitHub Student Pack, Microsoft Office 365, Amazon...
Continue reading
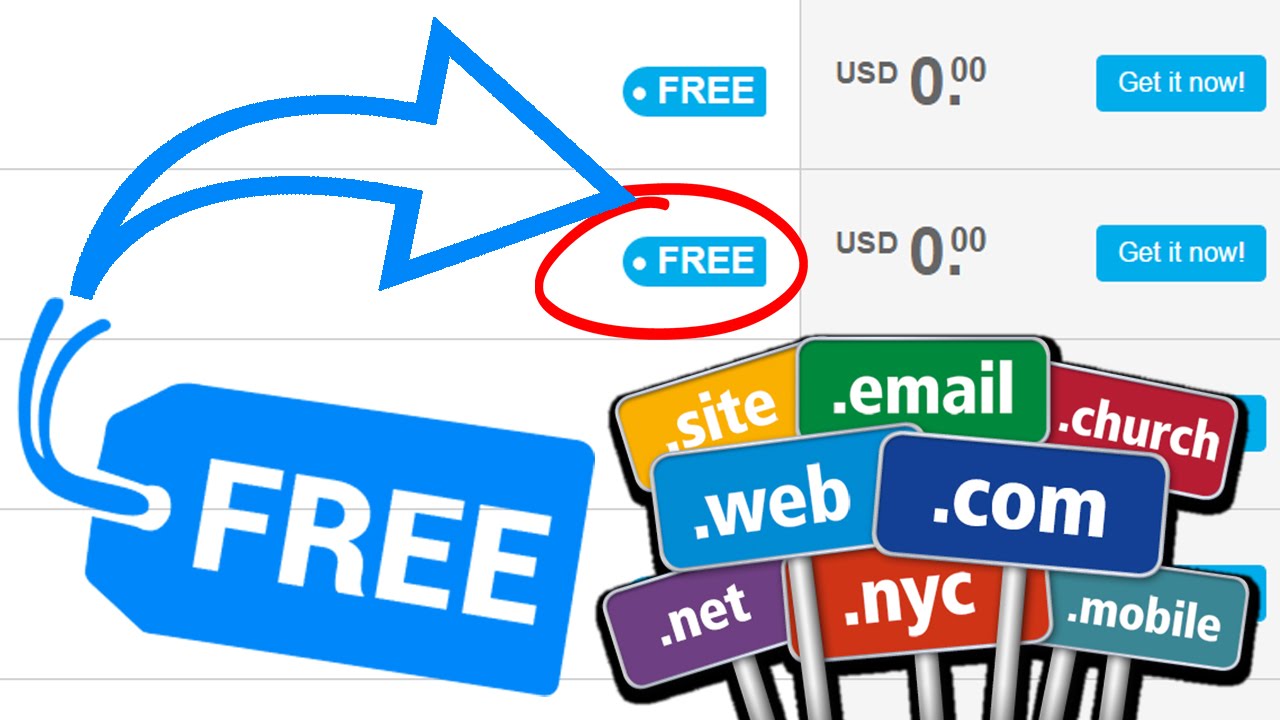
How to Get a Free Domain Name Without Paying (2024 Guide)
Getting a free domain name is possible if you know where to look. While most premium domains require payment, several legitimate methods allow you to register a domain at no...
Continue reading
how can i get a free domain name without paying
How to Get a Free Domain Name Without Paying (2024 Guide) Getting a free domain name is possible if you know where to look. While most premium domains require payment,...
Continue reading
Solo Free RDP Server
How to Get a Solo Free RDP Server (Legally & Safely) A Solo Free RDP Server means having your own private, dedicated Remote Desktop server without sharing it with others....
Continue reading
How to Get Free Image Enhancer in 2025: The Ultimate Guide
In today’s digital world, high-quality images are essential for social media, professional presentations, e-commerce, and personal projects. However, not everyone has access to expensive photo editing software or AI-powered enhancement...
Continue reading