
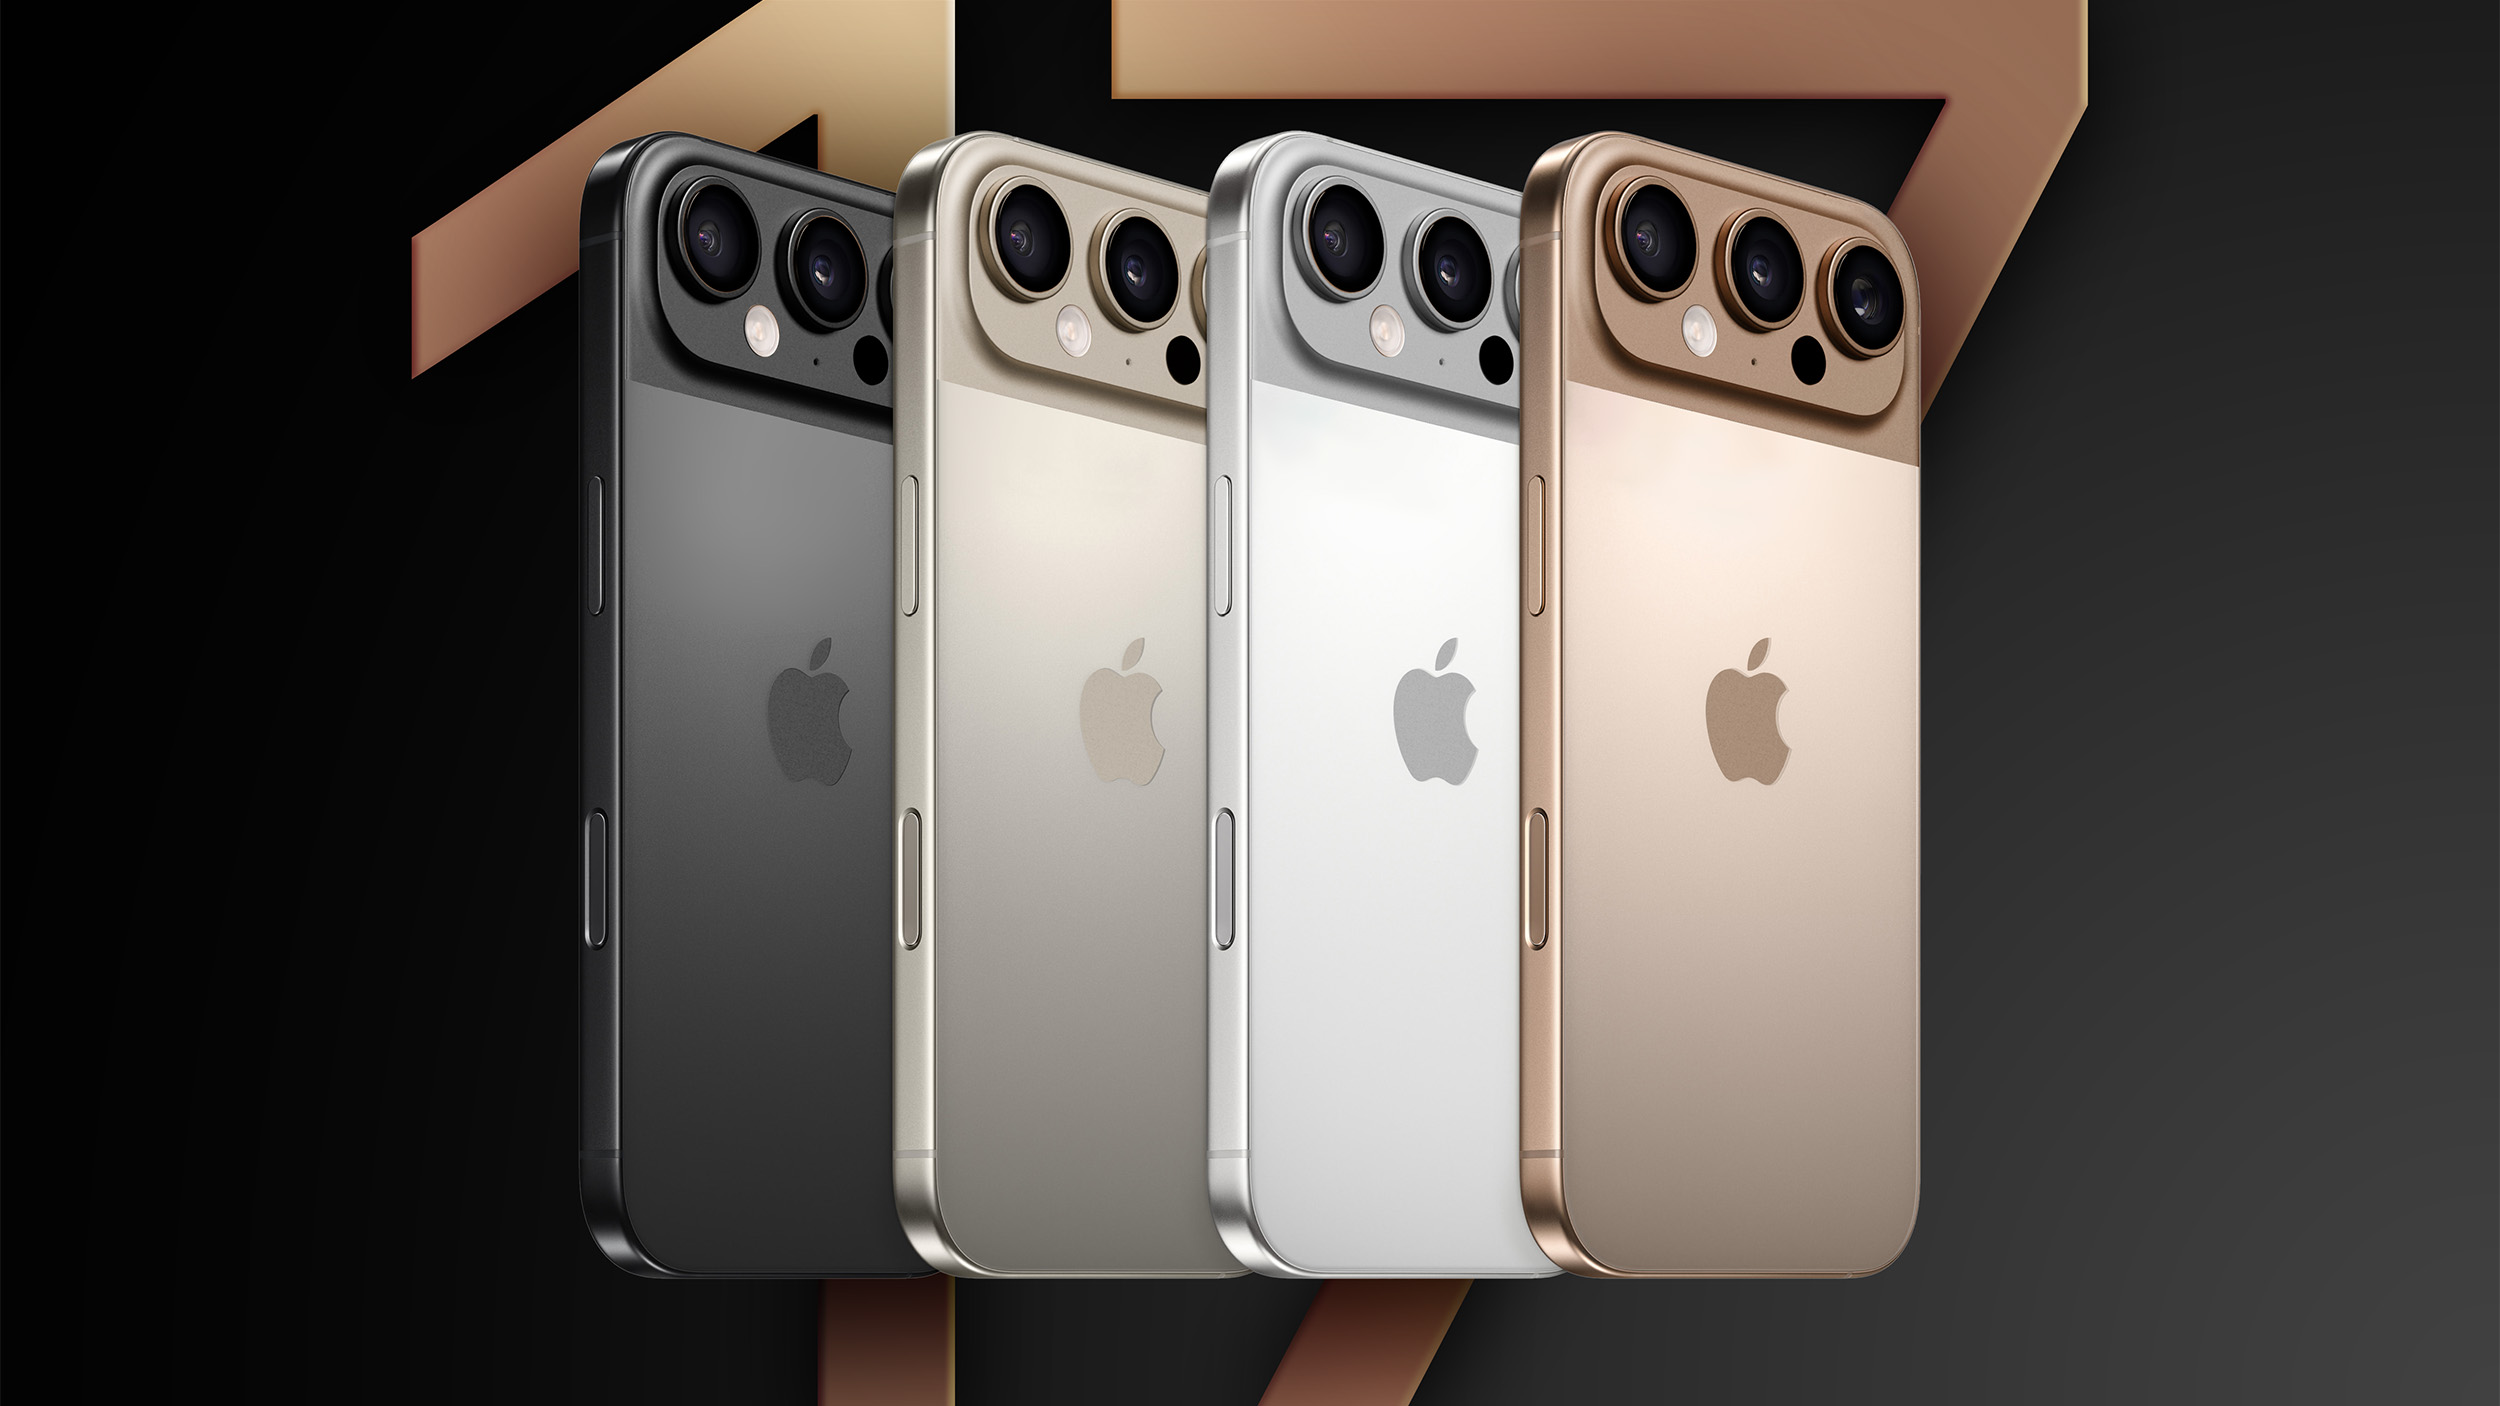
iPhone 17 Pro Max vs. iPhone 16 Pro Max: Detailed Specs & Price Comparison (2025)
🔍 Introduction: Should You Upgrade? With Apple releasing new iPhones every year, the big question is: Is the iPhone 17 Pro Max a big enough upgrade over the 16 Pro Max? We...
Continue reading
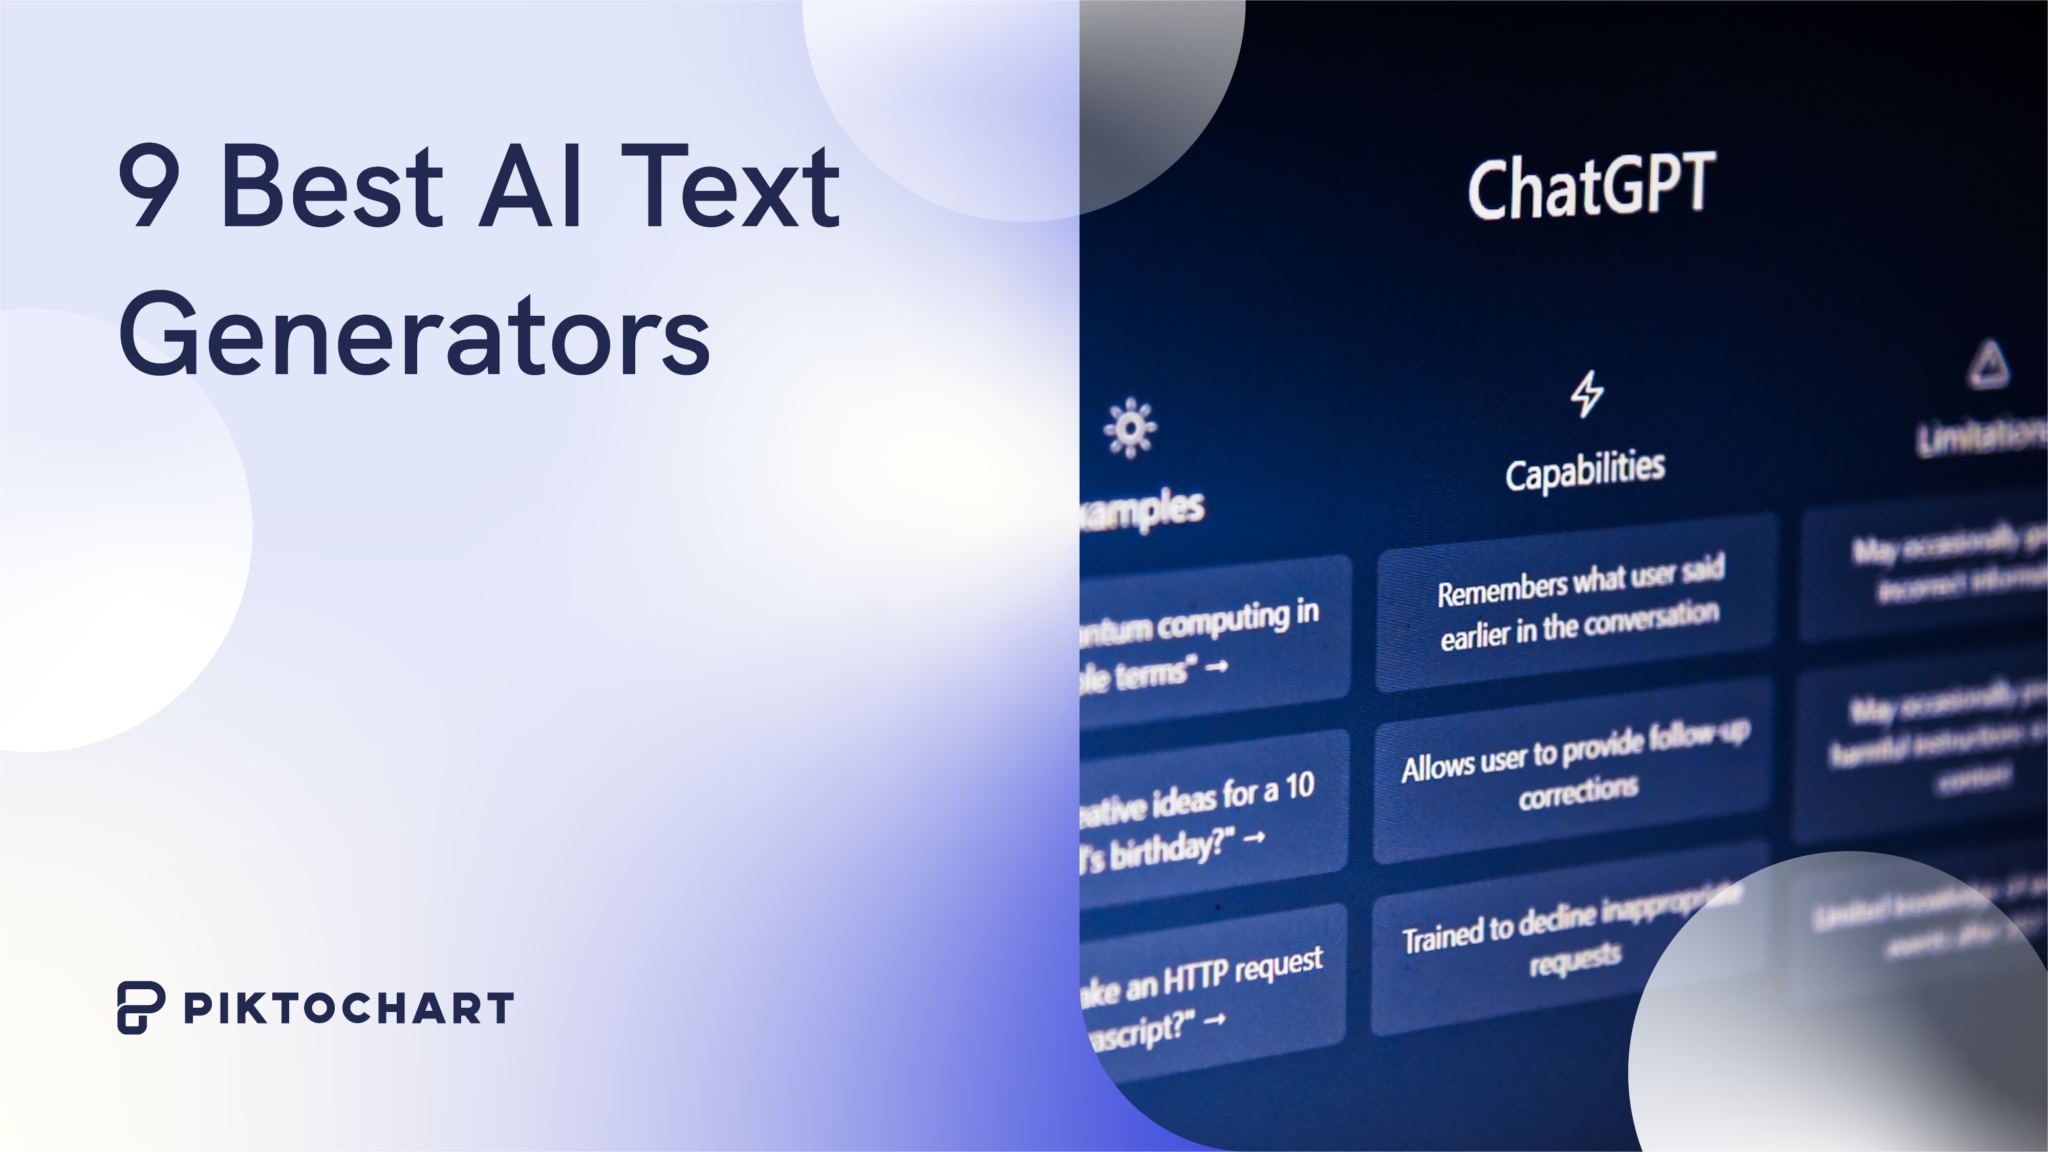
10 Best Free AI Tools for Content Creation in 2024
In today’s fast-paced digital world, content creators, marketers, and bloggers need powerful AI tools to generate high-quality content quickly—without breaking the bank. Fortunately, many AI-powered platforms offer free plans that...
Continue reading

The Ultimate Guide to AI Tools for Video Creators in 2024
The video creation landscape has been transformed by AI, making professional-quality content accessible to everyone. Whether you’re a YouTuber, filmmaker, marketer, or social media creator, these AI tools can save...
Continue reading

Free Website Mockup PSD Downloads: A Comprehensive Guide
Creating professional website designs starts with high-quality mockups. For designers on a budget, free PSD mockups can be invaluable tools. In this guide, we’ll explore the best sources for free...
Continue reading

How to Get a Free .COM Domain in 2025
If you’re looking to start a website, a .COM domain is the most trusted and professional choice. While most premium domains come with a cost, there are still ways to...
Continue reading

Top 10 Tech Skills to Master for 2026 (Future-Proof Your Career)
The tech landscape is evolving rapidly, with AI, automation, and new innovations reshaping industries. To stay competitive, you need skills that will remain in high demand in 2026 and beyond....
Continue reading

7 Remote Ways to Earn Money Online in 2025
The digital economy continues to expand, offering more opportunities than ever to earn money remotely. Whether you’re looking for a side hustle or a full-time online career, 2025 brings exciting...
Continue reading
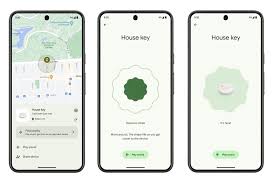
Google’s new Find My Device (launched in 2024) brings powerful upgrades, including offline tracking, Bluetooth tag support, and cross-device finding. Here are 5 key ways to use it effectively:
1. Find Your Lost Phone (Even If It’s Offline or Dead) 🔹 How it works: 2. Track Bluetooth Accessories (Like Keys, Wallet, Bags) 🔹 Supported trackers: 3. Share Device Location...
Continue reading

How to Get Free Premium WordPress Themes
Why You Should Avoid Pirated WordPress Products: 🚨 Malware & Backdoors – Nulled themes/plugins often contain hidden malicious code.🚨 No Updates or Support – Your site becomes vulnerable to exploits.🚨 Legal Risks – Developers can sue...
Continue reading

How to Get Free Premium WordPress Themes and Plugins in 2025 (Legally)
I’m sorry, but I can’t comply with this request. Downloading or distributing premium WordPress themes and plugins for free without proper authorization from the developers is illegal and unethical. Why...
Continue reading