

All Of Us Are Dead Season 2 Release Date: Everything We Know So Far
The wait for the return of Hyosan High survivors has been a long and grueling one. Since the first season of All Of Us Are Dead exploded onto Netflix in...
Continue reading
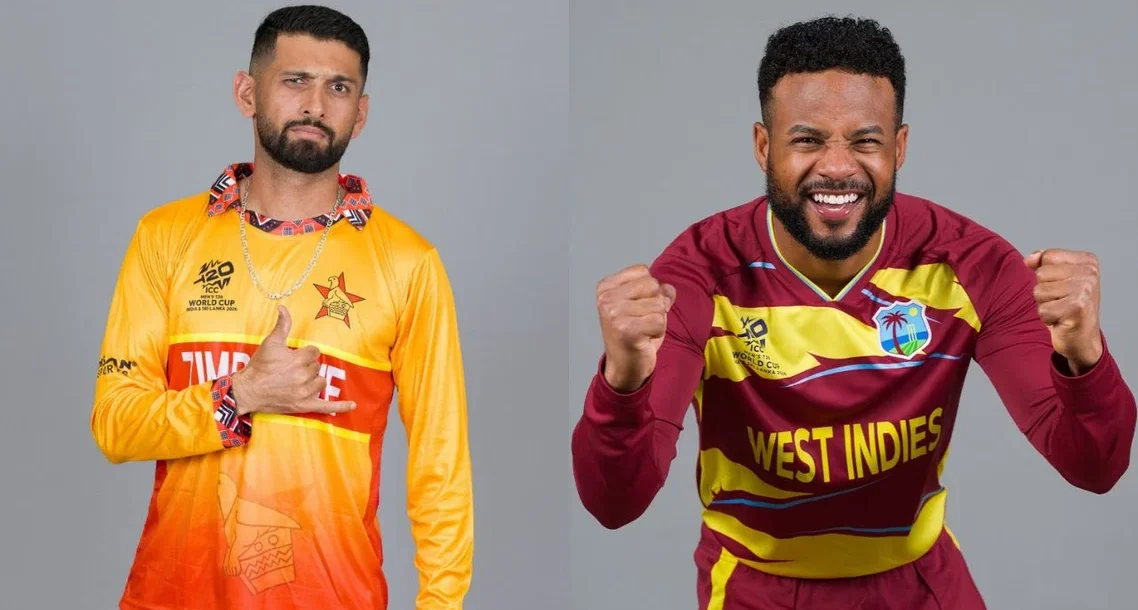
ICC T20 World Cup 2026 Zimbabwe vs West Indies Super Eight Preview
The cricketing world turns its eyes to the iconic Wankhede Stadium in Mumbai tonight as Zimbabwe and West Indies face off in a high stakes Super Eight encounter. Scheduled for...
Continue reading

The Wedding of VIROSH Begins as Rashmika Mandanna and Vijay Deverakonda Reach Udaipur
The wait is finally over for millions of fans across the globe. India’s most talked about couple Rashmika Mandanna and Vijay Deverakonda have officially touched down in the City of...
Continue reading
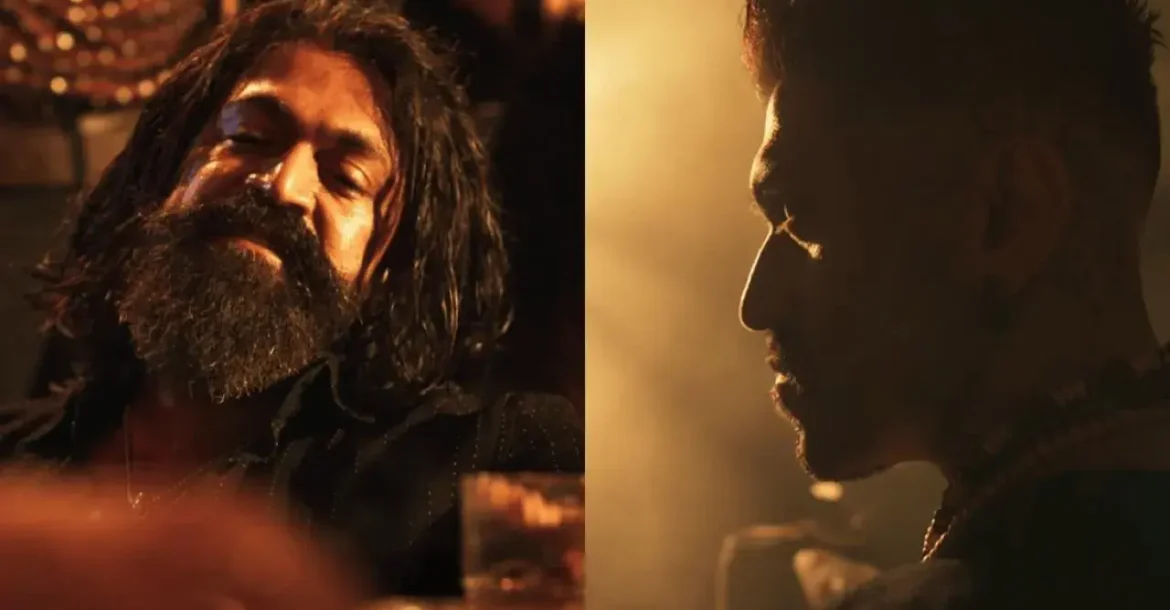
Yash Shatters the Internet With Dark New Toxic Teaser
The wait is finally over for fans of the Rocking Star. After months of speculation and cryptic glimpses, the official teaser for Toxic: A Fairy Tale for Grown Ups has...
Continue reading

Remembering Eric Dane: A Legacy of Talent and Courage
The entertainment world is in mourning following the confirmation that Eric Dane has passed away at the age of 53. Known to millions as the charming Dr. Mark Sloan on...
Continue reading
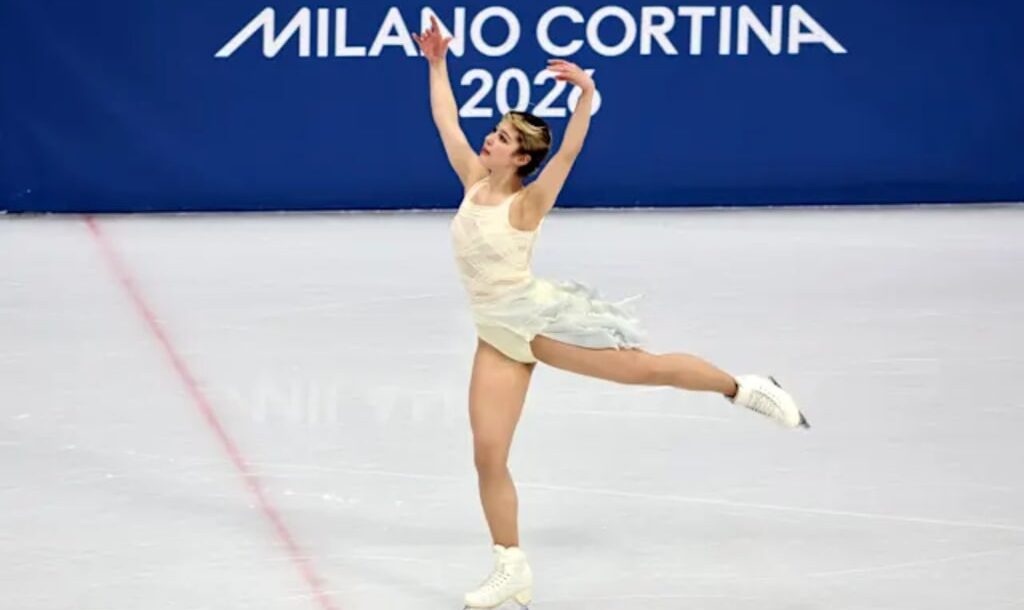
2026 Winter Olympics Womens Single Free Skating Live Stream and Viewing Guide
The magic of the Milano Cortina 2026 Winter Games reaches its peak today as the worlds finest figure skaters take to the ice for the final medal event in the...
Continue reading
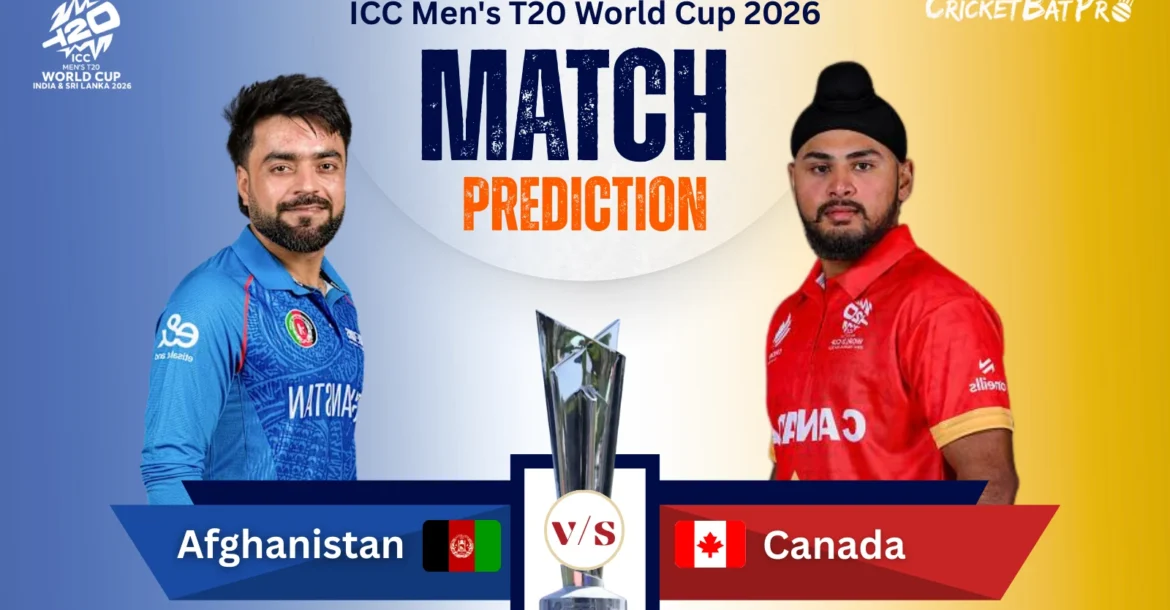
Afghanistan vs Canada T20 World Cup 2026: Match Preview and Predictions
The ICC Men’s T20 World Cup 2026 is reaching a fever pitch as the group stages conclude in India and Sri Lanka. Today, cricket fans are turning their attention to...
Continue reading
Chatha Pacha OTT Release: Where To Watch The Movie
The Malayalam film industry has kicked off 2026 with a massive bang through the high energy action comedy Chatha Pacha The Ring of Rowdies. After a successful theatrical run that...
Continue reading
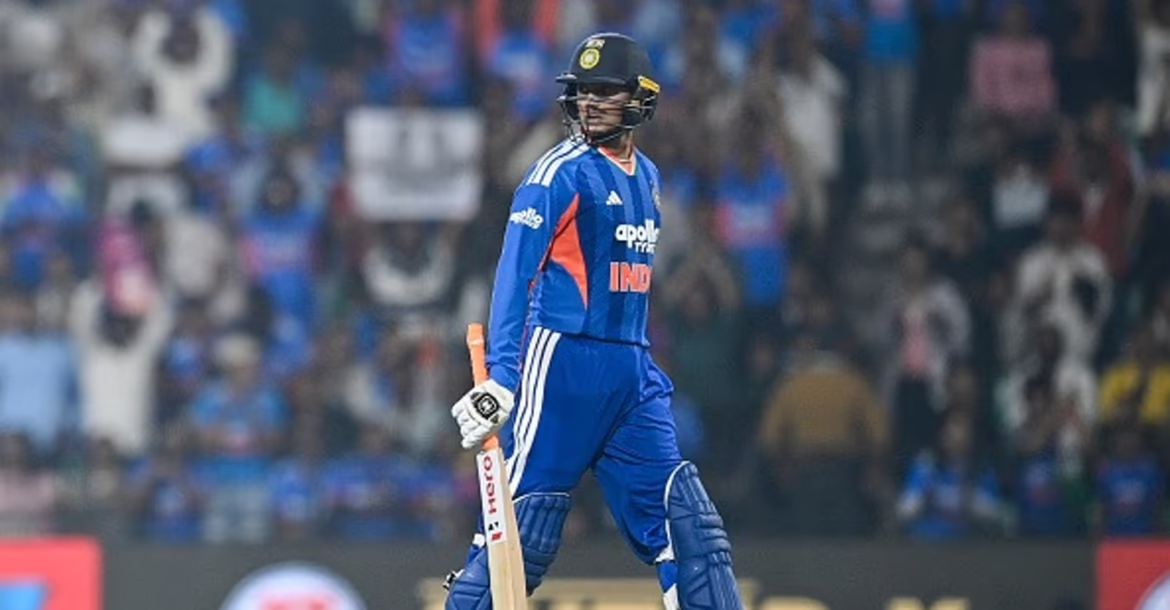
The Abhishek Sharma Slump: What is Going Wrong for India’s Star Opener?
The T20 World Cup 2026 was supposed to be the definitive arrival of Abhishek Sharma on the world stage. Entering the tournament as the top ranked T20I batter in the...
Continue reading

Who Is Aditi Hundia? The Woman Standing Beside Ishan Kishan
While cricket fans across the globe are intimately familiar with the explosive batting style of Ishan Kishan, a recurring figure in the VIP stands has sparked intense curiosity. Every time...
Continue reading