
Punjab Police Constable Cut Off 2025, Category-wise Cut Off Marks
Here’s an in-depth, long blog-style guide (around 2000 words) on the Punjab Police Constable Cut Off 2025, including category-wise details, insights, analysis, and tips to maximize your chances: 📌 Table...
Continue reading

today’s live cricket score update
Here’s today’s live cricket score update and an in-depth blog exploring the ongoing Test between India and England at Headingley: 🏏 Live Match Status India vs England – 1st Test,...
Continue reading

YouTube Channel Permanently Removed: How to Appeal and Recover It”:
YouTube Channel Permanently Removed: How to Appeal and Recover It (Complete 2025 Guide) YouTube has grown into the world’s largest video-sharing platform, allowing creators from all walks of life to...
Continue reading

Online Credit Card Number Generator | Testsigma – Complete Guide
Online Credit Card Number Generator | Testsigma – Complete Guide In the world of software testing and QA automation, having access to valid-looking but fake credit card numbers is essential....
Continue reading
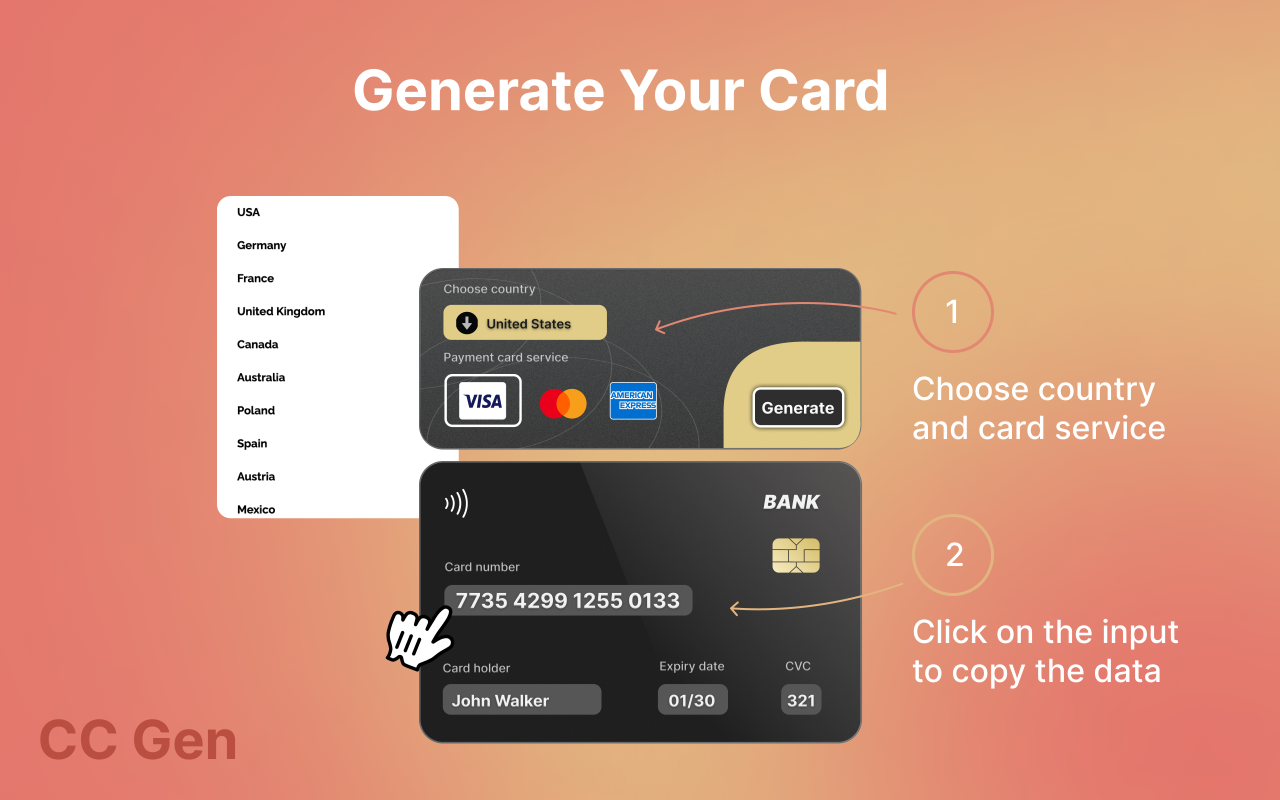
Generating credit card information using JavaScript
Here’s a breakdown of how you can safely generate valid-looking (but fake) credit card numbers in JavaScript for testing purposes only. 🔐 Important Notice: This is for educational or development...
Continue reading

Credit Card Number Generator Online: Everything You Need to Know
In today’s fast-paced digital landscape, credit card number generators have emerged as a topic of curiosity, confusion, and concern. These tools, which can produce a sequence of numbers that appear...
Continue reading

How to Get a Student ID Card for GitHub Benefits as an International Student (2025 Guide)
How to Get a Student ID Card for GitHub Benefits as an International Student (2025 Guide) In the tech-driven world we live in today, software development has become a global...
Continue reading
increase adsense earning
Absolutely! Here’s a comprehensive blog post (2000+ words) on the topic: How to Increase YouTube AdSense Earnings in 2025 (Safely and Effectively) You’ve built your YouTube channel. You’re getting views....
Continue reading

How to Increase YouTube AdSense Earnings in 2025
Absolutely! Here’s a comprehensive blog post (2000+ words) on the topic: How to Increase YouTube AdSense Earnings in 2025 (Safely and Effectively) You’ve built your YouTube channel. You’re getting views....
Continue reading
Google AdSense: How Much Can I Earn in 2025?
Google AdSense: How Much Can I Earn in 2025? One of the most common questions among bloggers, YouTubers, and website owners is: “How much can I earn from Google AdSense?”...
Continue reading