

The Ultimate Guide to AI Tools for Video Creators in 2024
The video creation landscape has been transformed by AI, making professional-quality content accessible to everyone. Whether you’re a YouTuber, filmmaker, marketer, or social media creator, these AI tools can save...
Continue reading

7 Best AI Video Editing Tools in 2024 (Free & Paid Options)
Video editing no longer requires expensive software or professional skills—thanks to AI-powered editing tools. Whether you’re a YouTuber, marketer, educator, or business owner, these AI tools can automate editing, enhance...
Continue reading

The 11 Best AI Video Generators in 2025 (Free & Paid Options)
AI-powered video creation has exploded in 2025, making it easier than ever to turn text, scripts, and ideas into professional-quality videos—without filming or editing skills! Whether you’re a student, marketer,...
Continue reading

Top Free Text-to-Video AI Generators in 2025 (Best for Long-Form Content)
In 2025, AI-powered text-to-video tools have revolutionized content creation, making it easier for students, educators, and creators to turn ideas into engaging videos—for free! Whether you need explainer videos, presentations,...
Continue reading
Here are the 10 best AI tools in 2025 for students, helping with productivity, learning, research, and creativity:
1. ChatGPT-5 (OpenAI) 2. Gemini Ultra (Google DeepMind) 3. Notion AI 2.0 4. GrammarlyGO 2.0 5. Otter.ai (Next-Gen) 6. Wolfram Alpha AI 7. Elicit (AI Research Assistant) 8. Synthesia 2.0...
Continue reading

Free Website Mockup PSD Downloads: A Comprehensive Guide
Creating professional website designs starts with high-quality mockups. For designers on a budget, free PSD mockups can be invaluable tools. In this guide, we’ll explore the best sources for free...
Continue reading
free sms verification with us phone number
The Ultimate Guide to Free SMS Verification with a US Phone Number (2024) In today’s digital landscape, phone number verification is a common requirement for signing up on platforms like...
Continue reading
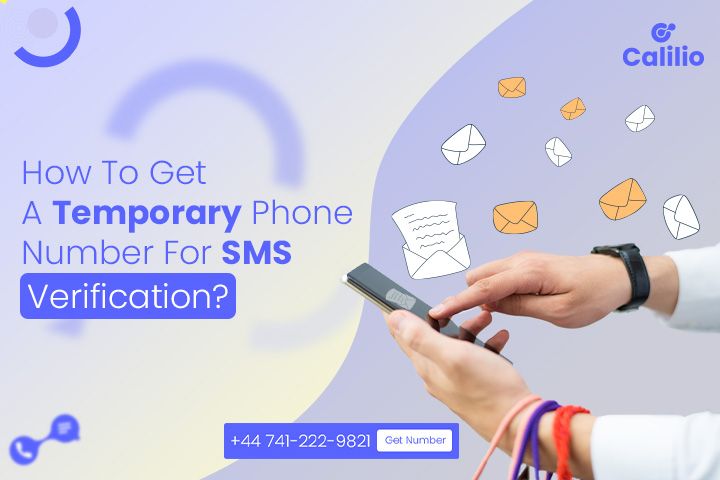
The Ultimate Guide to Free USA Phone Numbers for SMS Verification (2024)
In today’s digital world, many websites and apps require phone number verification for security. However, you might not want to use your real number due to privacy concerns or spam...
Continue reading
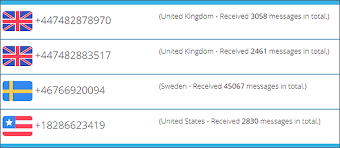
free usa temporary number for sms verification
If you’re looking for a free USA temporary number for SMS verification, there are several online services that provide disposable numbers for receiving verification codes. These are useful for signing...
Continue reading
How to Get a Free RDP Server for Android (2024 Guide)
Remote Desktop Protocol (RDP) allows you to control a computer remotely from your Android phone or tablet. Many users need free RDP for Android to access a Windows/Linux PC, run...
Continue reading