
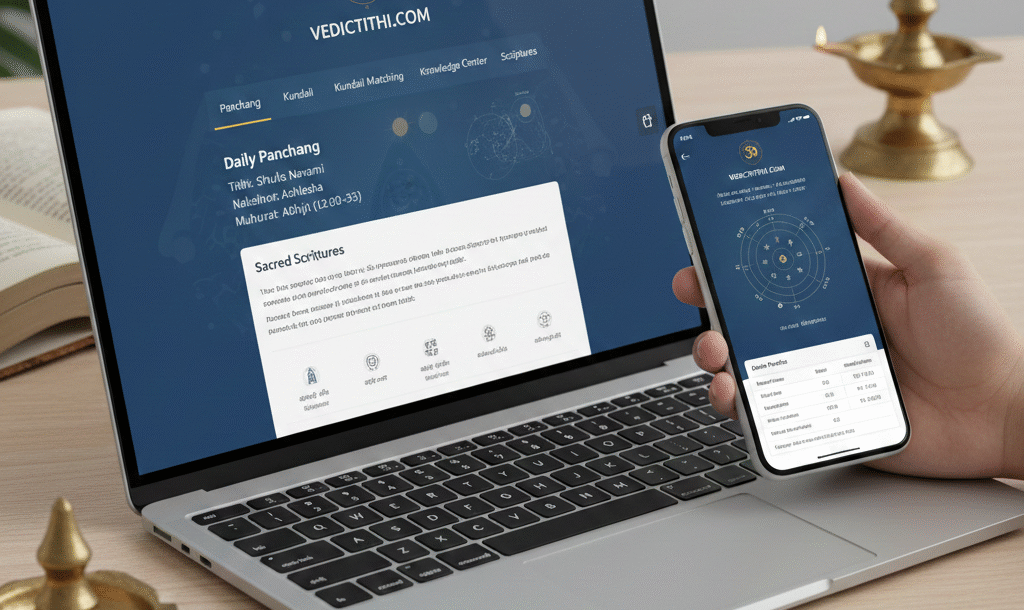
Best Astrology Website for Muhurat, Panchanga, Marriage Compatibility & Festival Updates – VedicTithi.com
Astrology has been an inseparable part of Indian culture for thousands of years. From deciding auspicious timings (Muhurat) to understanding planetary influences on daily life, Vedic astrology continues to guide...
Continue reading

Liverpool v Real Madrid Champions League 2025/26: Another Blockbuster Clash at Anfield
Today’s UEFA Champions League match between Liverpool and Real Madrid promises intensity, legacy, and tactical brilliance. Kickoff is at 8 PM GMT at Anfield. Contrasting Form Sets the Stage Liverpool...
Continue reading

Vedant Birla and Tejal Kulkarni’s Elegant Wedding Captivates India’s Business and Social Circles
When Vedant Birla, scion of industrialist Yash Birla and Avantika Birla, tied the knot with entrepreneur Tejal Kulkarni, it was an event that married tradition, elegance, and modern flair. The...
Continue reading
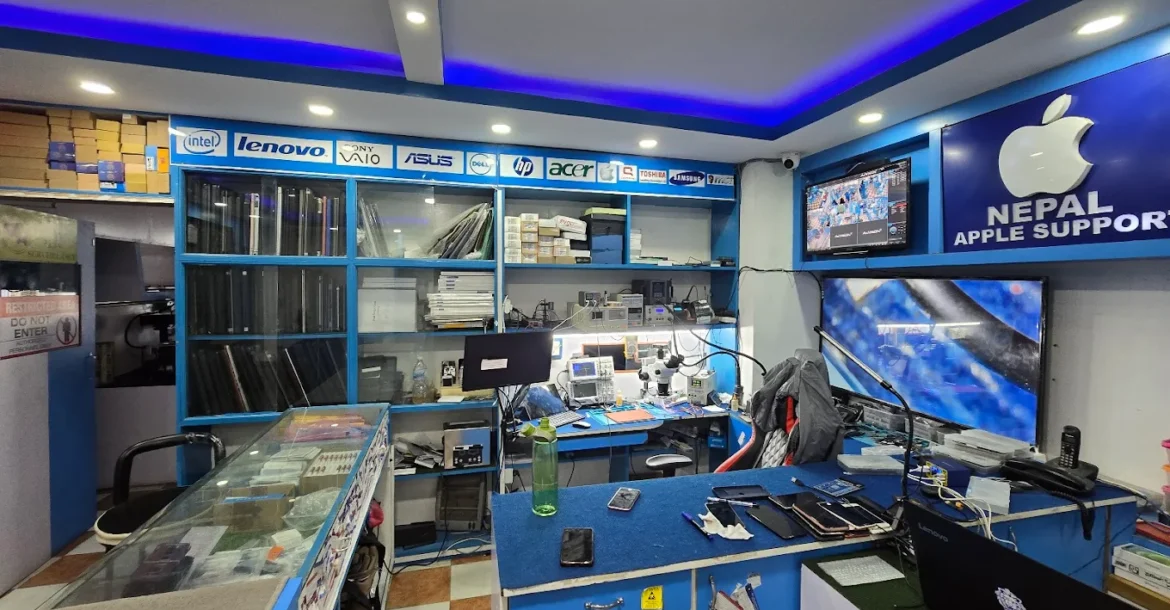
Original iPhone Battery Replacement in Kathmandu, Nepal (2025)
🔋 Original iPhone Battery Replacement in Kathmandu, Nepal (2025) – Where to Go and What to Know Is your iPhone draining battery too fast, shutting off randomly, or taking forever...
Continue reading

Try RDP for Free – No Credit Card Needed
Discover the benefits of remote desktop access without any financial commitment. Experience the flexibility of using Remote Desktop Protocol (RDP) without needing a credit card. With RDP, you can access...
Continue reading
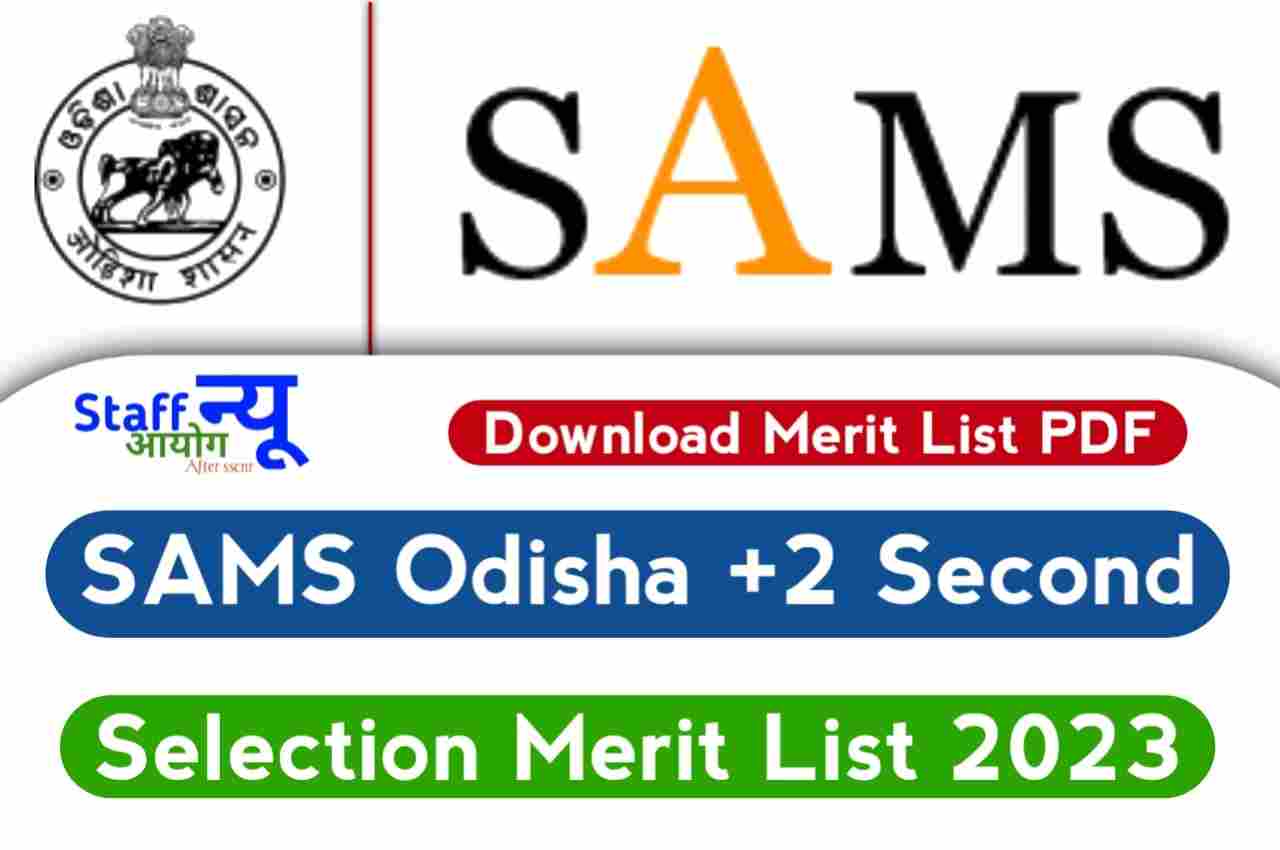
🎓 SAMS Odisha +3 Second Selection Merit List 2025: The Ultimate Guide
Here’s a comprehensive, in-depth blog post on the SAMS Odisha +3 Second Selection Merit List 2025—covering everything from key dates and step-by-step procedures to smart strategies and what comes next....
Continue reading
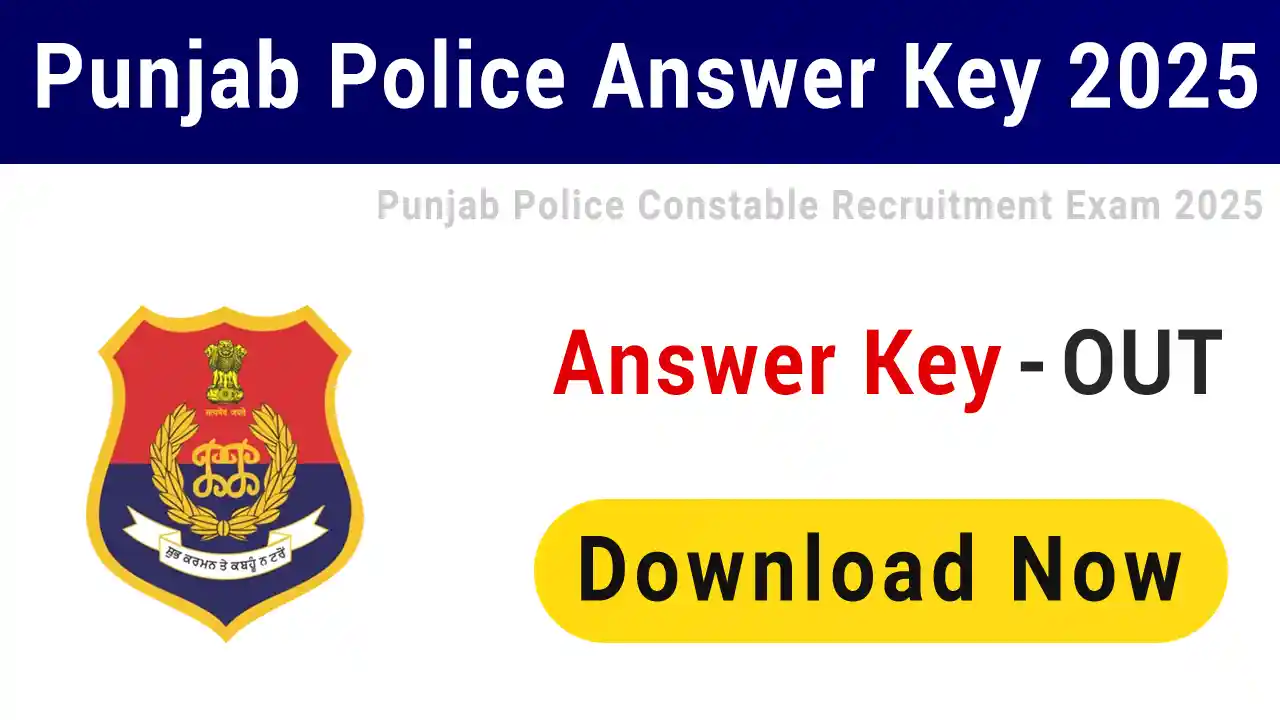
The Punjab Police Constable CBT Answer Key 2025 has been officially released. Here’s everything you need to know:
📌 Key Updates ✅ How to Download & Raise Objections 🧮 Estimate Your Score 📅 What Happens Next? 🧭 Summary Table Item Details Answer Key Release June 21–22, 2025 Download...
Continue reading
🔐 The 16 Billion Passwords Data Breach: What You Need to Know
Here’s a long-form blog post on the “16 Billion Passwords Data Breach”, covering key angles including background, causes, impact, safety tips, and expert opinions. You can freely edit or use...
Continue reading

Eleven 2025 WEB-DL UNCUT Hindi Dual Audio ORG Full Movie Download [Hindi-Tamil] 1080p, 720p & 480p. Eleven 2025 This is a South Hindi Movie and available in Hindi 1080p, 720p & 480p qualities. This is one of the best movies based on Romance. Eleven 2025 WEB-DL Hindi Dubbed Movie is also Available in Telugu 300Mb Movies and Telugu 720p Movies Only on Bolly4u.
Eleven 2025 WEB-DL UNCUT Hindi Dual Audio ORG Full Movie Download [Hindi-Tamil] 1080p, 720p & 480p. Eleven 2025 This is a South Hindi Movie and available in Hindi 1080p, 720p...
Continue reading
csbc bihar police constable admit card
Here’s the detailed guide you need on the CSBC Bihar Police Constable Admit Card 2025: 🎟️ CSBC Bihar Police Constable Admit Card – What You Need to Know The Central...
Continue reading