Adobe Photoshop is a potent image editing tool used across the board, from newbies to experts, for graphic design, photo manipulation, and digital art. However, you may face compatibility issues with the installation of Adobe Photoshop due to system requirements and installation woes. Read this guide and install Adobe Photoshop with smooth sailing.
Before you proceed with downloading Photoshop, ensure that your computer meets the minimum system requirements since an incompatible system will trigger installation errors or problems in performance.
Table of Contents
Minimum Requirements
Step 1: Create or Sign in to an Adobe Account
Step 2: Download Adobe Photoshop
Step 3: Install Adobe Creative Cloud and Photoshop
Step 4: Activate Adobe Photoshop
Common Installation Errors and How to Fix Them
Better Performance for Photoshop
Final Thoughts
Minimum Requirements
• OS: Windows 10 (64-bit) or macOS 11 (Big Sur) or newer
• Processor: Intel Core i5 processor or AMD Ryzen 5 processor or better
• RAM: 8GB minimum (16GB preferable)
• Graphics: GPU with support for DirectX 12 (2GB VRAM minimum; 4GB preferable)
• Drive space: Minimum of 5GB of free disk space for installation
• Display: 1280 x 800 (1920 x 1080 recommended)
• Internet: Required for downloading and activating the software.
Step 1: Create or Sign in to an Adobe Account
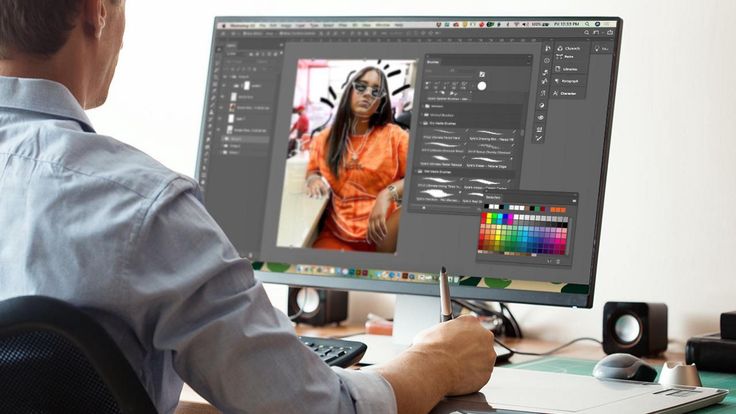
To install Adobe Photoshop, an Adobe account is mandatory. Thus, if you already have an account, use it to log in. However, if you do not have an account yet, follow the steps below:
1. Visit the Adobe official sites.
2. Click on Sign In in the top-right corner.
3. Select Create an Account if you don’t have one.
4. Enter the email ID and create a password.
5. Complete the account verification process through the email.
Upon your successful login, it will be ready for download.
Step 2: Download Adobe Photoshop
1. Open the official Adobe Creative Cloud site.
2. Visit the Editing Pack page.
3. Press on either Free Trial or Buy Now according to your preferences.
4. If you are buying it, choose any plan that suits, and add payment details.
5. Finally, once purchased or selected for free time, click Download.
6. The Creative Cloud Desktop App will be downloaded first, which will manage the installation of Photoshop.
Step 3: Install Adobe Creative Cloud and Photoshop
After downloading the installer, follow these steps to install Photoshop:
- Open the Creative Cloud installer.
- Sign in with your Adobe account credentials.
- Once logged in, go to the Apps section.
- Locate Adobe Photoshop and click Install.
- The installation will begin, and it may take a few minutes depending on your internet speed.
- Once installed, Photoshop will be available in your Creative Cloud apps.
Step 4: Activate Adobe Photoshop
To use Photoshop without limitations, you must activate it:
- Launch Adobe Photoshop.
- Sign in with your Adobe ID if prompted.
- If you purchased a subscription, your license will be automatically activated.
- If using a trial version, you will have 7 days to use Photoshop before purchasing a license.
Common Installation Errors and How to Fix Them
Even with a smooth setup, you may encounter some errors. Here are some issues that usually come up and how you can fix them:
1. Installation Stuck at 0% or 100%
- Solution: Restart your computer and try running the installer again.
- Check your internet connection and disable any firewall temporarily.
- Ensure you have enough free disk space.
2. Error Code 183: Installation Failed
- Solution: Update your operating system and graphics drivers.
- Run the installer as an administrator.
- Temporarily disable antivirus software and retry the installation.
3. Photoshop Crashes on Startup
- Solution: Update your GPU drivers from the official manufacturer’s website.
- Reset Photoshop preferences by holding Ctrl + Alt + Shift (Windows) or Command + Option + Shift (Mac) when launching Photoshop.
Better Performance for Photoshop
Once installed, optimize your Photoshop for increased speed and efficiency.
1. Increase Memory Allocations
• Go Edit > Preferences > Performance.
• Memory Usage: Increase the slider towards the right.
2. Enable GPU Acceleration
• Under Preferences > Performance, enable Use Graphics Processor.
• It helps render complex effects faster.
3. Adjust Scratch Disks
• If you find your Photoshop slow, allocate more storage as a scratch disk.
• Edit > Preferences > Scratch Disks would allow which drives to set as a scratch disk; SSD if you have one.
Final Thoughts
Installing Adobe Photoshop need not be a problematic process. All of what you need to do are ensure that your system requirements are met, follow some simple installation instructions, and troubleshoot common installation errors so you can be well on your way to an easy setup. Once installed, optimization will enhance the performance and usability of Photoshop.
Whether you are a professional designer or just getting started, the possibilities for design are endless with Photoshop. Go through this guide and you will set up Photoshop without errors in the least possible time!
